The image below is the light set i used to create the final render.

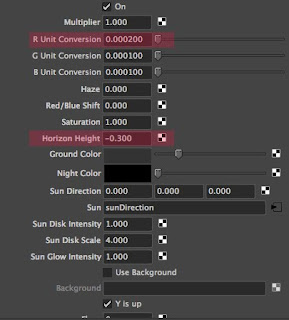
This image below are the settings i used to create the pink haze in the Maya Sun and Sky system.
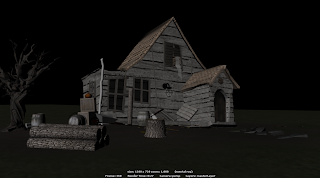
This first image shows my render with default lighting being used. The textures look very flat, even with a bump map on, the scene at the moment seems to have no life to it.
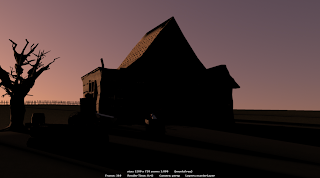
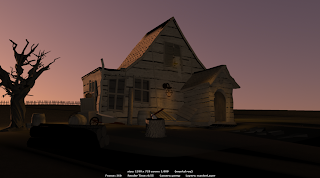
I created a S&S system with the settings above, and change the sun direction to horizontal, i have the sun facing towards the back of the house, meaning the front of the house is in harsh shadow, giving the illusion of dusk.
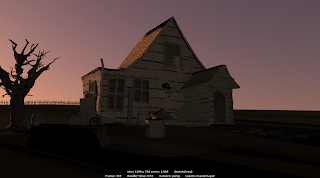
The next step was creating a spotlight, with a colour attached to it, similar to the pinky colour of the sky. I raised the drop-off of the light to make the light less harsh, and it gave a nice even finish to the front surface of the house, without making it too bright.
I was happy with the image above, however, i decided to add some more lights, emitting from a lamp attached to the front wall of the house, i gave them a orange glow, created by spotlights, i also created lights emitting from inside the windows of the house, around the side of the house, spilling out on to the ground. Overall i am very happy with the finished lights.

No comments:
Post a Comment